
How to Use a Terminal Block Complete Practical Guide
author: calrk
2026-04-07
How to Use a Terminal Block – A Complete Practical Guide

A terminal block is a core component for safe and reliable electrical connection, widely used in industrial control, power supplies, inverters, energy storage systems, lighting equipment and PCB circuits. Knowing how to use a terminal block properly directly affects connection stability, safety performance and service life. This guide provides standard operating procedures and practical tips for safe and correct usage.
Safety Preparation
Before any operation, always disconnect the power supply and confirm no voltage is present to avoid electric shock or short circuits. Prepare basic tools including a wire stripper, screwdriver, torque wrench (for industrial and high-power scenarios), and a multimeter. Check the terminal block’s rated current, voltage and applicable wire range to ensure they match your application.
Step-by-Step Usage
1. Strip the Wire Correctly
Use a wire stripper to remove the insulation layer to a suitable length, usually 5–8 mm. Do not damage the copper core. For stranded wires, twist the exposed copper strands tightly to prevent loose filaments from causing short circuits.
2. Loosen the Terminal Screw
Turn the screw counterclockwise to open the clamping space. Do not unscrew the screw completely, as this may cause misalignment or loss.
3. Insert the Wire Fully
Insert the stripped copper conductor straight into the terminal cavity until it reaches the bottom. Ensure all bare copper is inside the terminal and no metal is exposed outside the insulating housing. For high-current applications with wires of 10 mm² or larger, a copper cable lug must be crimped first, then inserted into the terminal as a complete assembly.
4. Tighten the Screw Properly
Tighten the screw clockwise until the wire is firmly clamped. For industrial and new energy applications, use a torque wrench to apply the rated torque. Avoid over-tightening, which may crack the shell or damage the thread; insufficient tightening will lead to loose contact, overheating and poor conductivity.
5. Check the Connection
Gently pull the wire to verify firmness. Use a multimeter to test continuity and contact resistance. Make sure no wires are misplaced, exposed or in short-circuit danger.
6. Power-On Test
After confirming all connections are correct, restore power and observe whether the terminal shows abnormal heating or voltage drop. Stable operation indicates proper installation.
Important Tips and Common Mistakes
- Do not insert multiple wires of significantly different sizes into the same terminal position.
- Avoid using dirty, oxidized or oil-stained wires, which increase contact resistance.
- Never insert under-stripped or over-stripped wires; both cause hidden dangers.
- For high-vibration environments, choose anti-loosening terminal blocks and use standard torque control.
- In high-current power systems, always use copper lugs instead of bare wire insertion to ensure safety and compliance.
Conclusion
Using a terminal block correctly is simple but critical. Standardized operation ensures stable current transmission, reduces failure risks and extends equipment life. Choosing high-quality terminal blocks and following professional wiring rules are essential for safe and reliable electrical systems.
What Does the Terminal Block Do
PCB Screw Terminals Usage Advantage
Related Article
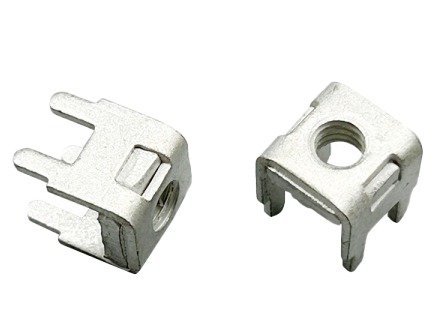
In industrial electrical systems, battery storage, and automotive wiring, connector terminal pins are the unsung backbone of power and signal transmission.
how to remove connector terminal pins
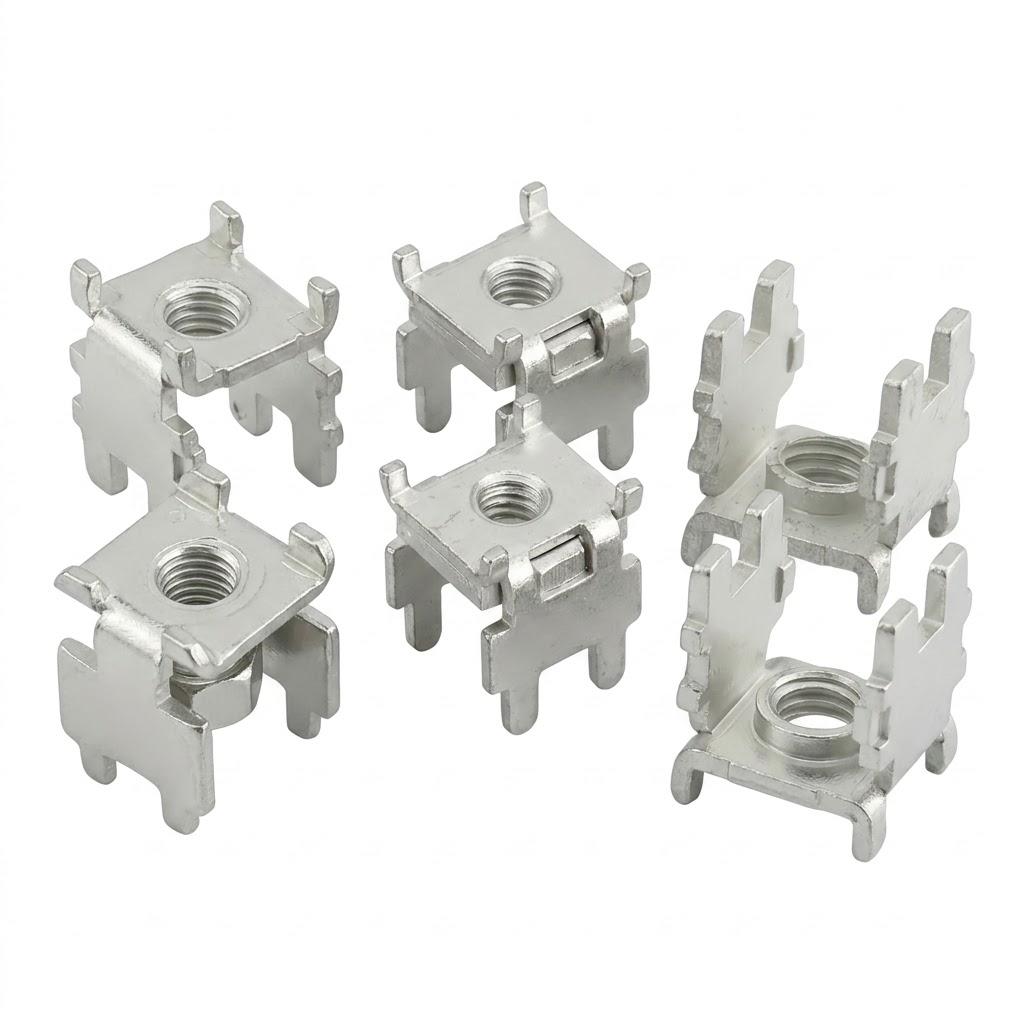
olar and energy storage inverters are the core equipment of the new energy industry, responsible for converting DC power generated by photovoltaic panels and lithium battery packs into usable AC power.
The Indispensable Core Partner of Solar